Showing posts with label DIY projects. Show all posts

Monday, May 5, 2014

Mother's Day Cupcake Bouquet Tutorial

With Mother's Day quickly approaching I wanted to share this super sweet and easy cupcake bouquet tutorial that any mother would love! 
So first up you will need the following items to make your cupcake bouquets. 
  • Terracotta pot
  • Acrylic paint
  • Paintbrush
  • Mini cupcakes
  • Toothpicks
  • Styrofoam ball
  • Icing in different colors
  • Piping tips Wilton 2D, Bakery Crafts 68, Wilton 32, Wilton 352
  1. Start by having child(ren) paint a fun design on the pot for their mother. After the pot has dried seal pot with clear acrylic sealer.
  2. After the pot is completely dry insert Styrofoam ball into pot. You want about half the ball to stick out of the pot so you may attach the cupcake flowers.
  3. Ice the cupcakes to look like flowers using assorted tips.
  4. After cupcakes are iced apply cupcakes to Styrofoam ball using toothpicks. You may need to use more than one toothpick per cupcakes. Try to get the cupcakes as close as possible to avoid to many large gaps. 
  5. Use the Wilton 352 leaf tip to fill in any holes between cupcakes and present to Mom!
  6. After the cupcakes are consumed Mom can use the pot for planting her favorite flower (that you also bought her for the occasion)!


  7.  He has no idea what is happening to him!
     My little helper loves to bake!


How to Ice Cupcakes
  • Rose
Start with a piping bag filled with icing color of your choice and the Wilton 2D tip. Start with the tip in the center of the cupcake and apply pressure. Swirl the design outward to complete the rose. 


  • Mum
Start with piping bag filled with icing color of your choice and Bakery craft tip 68. Place tip on the outer edge of the cupcake and apple pressure and pull away to make a petal. Continue around the cupcake to complete one row. Once first row is complete pipe next row directly on top until the entire cupcake is covered in petals. 


  • Ball Flower
Start with piping bag filled with icing color of your choice and Wilton tip 32. Place tip on outer edge of cupcake and apply pressure to make a small dot of icing. Continue applying dots around cupcake until entire cupcake is covered. 


Have fun with this project! If  you do not have certain tips or piping bags don't worry cupcakes do not have to look exactly like a certain flower to look nice.

Wednesday, August 28, 2013

Little Southern Gentleman Shower Part 2

Ok so ready to get this party underway? If you missed part 1 you can check it out here. First up surprising Mom and Dad! Owen was so excited to surprise them with this party!


Isn't he the cutest! He will be a wonderful big brother!


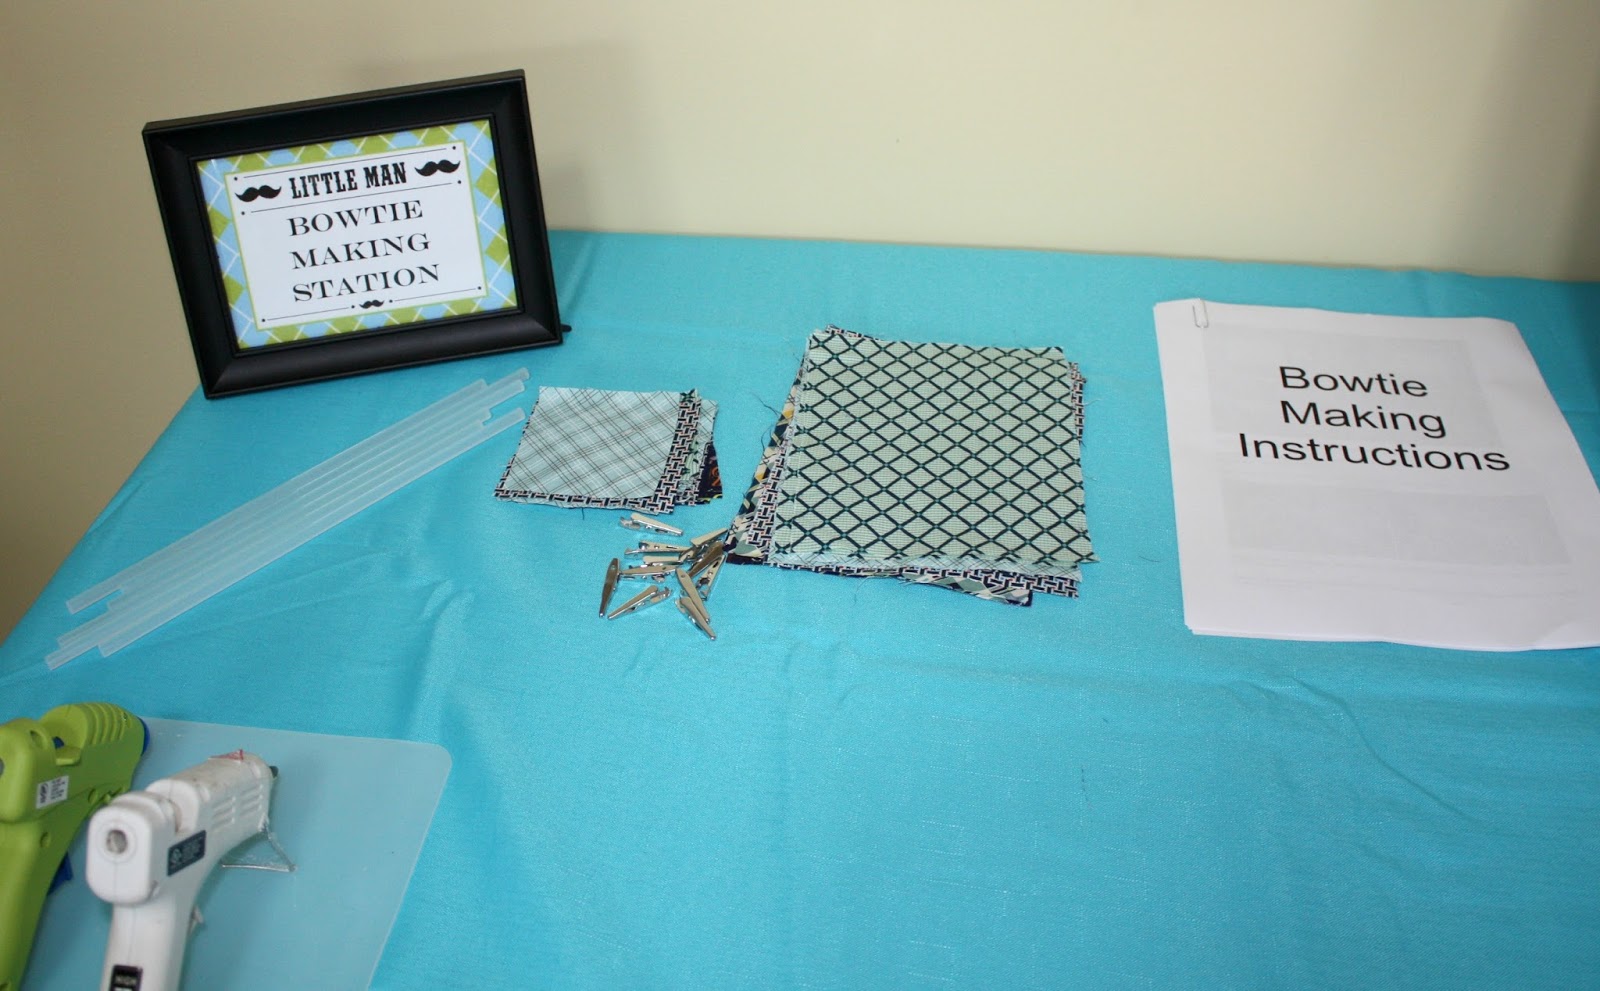
    Time to make some bow ties! For the bow tie station I pre-cut all of the fabric needed to make the bow ties and then had step by step instructions on how to put it together. The best part was these were no sew bow ties so they were super simple to make but still ended up looking really cute.
 
Nicely done!
 
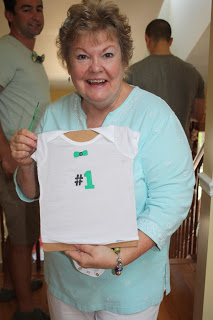
The onesie making station was a huge hit! I bought the stencils and paintbrushes for the onesies at Michael's and the fabric paint in the craft section at Walmart. I printed simple instructions for everyone to follow on how to make the onesies. The stencils are technically reusable if you wash them off and let them dry.
 
Everyone loved expressing their creative side and coming up with a cute design for Finn!
 
 
Look at all those fabulous designs Finn has to choose from and they were all made with love!
 
Time to open gifts!


 Time for desserts!


Ha ha the mustache cake pops crack me up!

 
Family excited to welcome baby number 2!

Hope you enjoyed this Little Southern Gentleman shower. If you are interested in throwing your own Little Man party please check out my Pinterest board for lots of great ideas and tutorials. I sure had a blast putting it together for my brother and sister-in-law. Can't wait to see little Finn grow into a little person and see his personality develop. 

Tuesday, August 27, 2013

Little Southern Gentleman Shower

I am so excited to share this Little Southern Gentleman baby shower with all of you because it is in celebration of my new nephew Finnegan James! We chose Little Southern Gentleman because Daddy to be loves lots of things about the South including the southern charm. So what better way to welcome this new little one into the family then with a little southern charm. We focused mostly on bow ties and mustaches to tie into the theme. I will break this party into two parts since I have so many great pictures to share. First up the details of the party.
 
 
 As guest entered a strict dress code was enforced to make sure they were looking their best!
 
 
Guest were also encouraged to sign a book for Finnegan so that he may have it as a keepsake later.


Instead of normal baby shower games I decided on activities where everyone could participate. I had two stations set-up that included a bow tie making station and a onesie making station. 
 
Guests could decide on a stencil or free hand a design onto a onesie that Finn could wear later.

Guests could make their own no sew bow ties to keep or to give to Finn.

 
After finishing a onesie they were hung for display on a clothesline. 


For favors guests took home little onesie and mustache cookies!
 

For drinks we decided to serve Lemonade and Sweet Tea to tie in with our Southern theme. 
 
I love the way the mason jars turned out!

The food included all things southern and it was a big hit!


My mom made the baby carriage fruit bowl and I think it looked so cute on the table! I love anything that will tie a party together!
 
Doesn't all that food look delicious!
 
For desserts I chose to make three smaller cakes with different toppers and then desserts that were Southern in theme. The desserts included mustache cake pops, mini apple pies on a stick, chocolate and strawberry mousse shooters, and chocolate chip cookies with a shot of milk. I must say I am really happy with the way the desserts turned out! Usually the desserts are my only focus but since I was putting together this whole party I had to downscale the dessert table a bit but I am still happy with how it looked!


The mustache cake pops were a huge hit!


Lastly, to include the big brother to be in the festivities I made him this shirt that says "If you mustache I am the big brother". This is the best picture I could get of him wearing it (I told him to put his hands up so I could read the shirt) but I think he really liked it and I know he had a blast at the party!
 
Here is a sneak peak of the parties festivities to come. Isn't he the cutest? He will be the best big brother ever!
 
Stay tuned for the next post were I will share the big surprise as Mommy and Daddy show up and the party in full swing!
 
All of the signage was done by me with the exception of a few free pieces I got from Catch my Party. I basically used their signage as the jumping off point and then added my own signage pieces to their already wonderful collection. All other decor and desserts we done by us Sweet Eats Cakes.  If you are interested in throwing your own Little Man party please check out my Pinterest board for lots of great ideas and tutorials.